13 March 2011

Travel jewelry roll

A couple of weeks ago I got the suggestion to make a travel jewelry roll. An idea inspired on the rainbow pencil roll, with another purpose.
Yesterday I made some drawings and measurements and came up with this. I am very happy with the result, although I will change a couple of things for the final version. For example, the snap fastener is a little bit too big so I will need to find smaller ones, this size is the only one I had at hand.
I will also think about a different way to close the roll. The ribbon method is nice but I want to try something different. Let's see what I can invent...


The jewelry roll has three pockets, all of them with zipper. A big one for necklaces, a medium size pocket for bracelets and a small one for earrings. In my case, since I never use earrings (I'm allergic) I will use it for bracelets or brooches.
I added a stuffed fabric tube to carry your rings. Once inserted they do not move at all and are very well protected.

To close the roll, you just need to fold the bag three time and that's it!


One
Two

Three
... and closed

Hace ya un par de semanas recibí la sugerencia de hacer un joyero de viaje. Una idea inspirada en el estuche de lápices enrollable, pero con otro propósito.
Así que ese fue mi entretenimiento de ayer por la tarde. Hice unos cuantos dibujos, tomé unas medidas, y el resultado ha sido éste. Me gusta mucho como ha quedado, aunque voy a hacer unos cambios para la versión definitiva. Este se queda en prototipo.
Por ejemplo, el corchete lo encuentro demasiado grande, así que tengo que buscar un tamaño más pequeño. Este es el único que tenía en casa ahora mismo. Tendré que hacer una visita a Pontejos.
También voy a pensar en otra opción para cerrar el rollo. El método de la cinta me gusta pero quiero probar algo distinto. Vamos a ver qué se me ocurre...

El joyero tiene tres bolsillos, todos con cremallera. Uno grande para collares, uno mediano para pulseras y otro pequeño para pendientes. Esta es la sugerencia, luego cada uno puede usarlo a su manera. Yo, que no llevo nunca pendientes (me dan alergia), usaré el bolsillo pequeño para más pulseras o broches, por ejemplo.
También le he puesto un rulo relleno para poner los anillos. Una vez metidos no se mueven ni un milímetro, con lo que van perfectamente protegidos.


Y una vez hecho el prototipo toca ponerse manos a la obra para hacer alguno más.

12 March 2011

The Beach Bag Collection

We are still suffering cold and rainy days. We even had a lot of snow during the last weekend, in March! I cannot believe it. It feels like winter is being really long this year.
Anyway, sooner or later spring will arrive and, hence, the nice weather. So I am dreaming already about sunny days, warm temperatures, t-shirts and shorts and... swimming pool, beach... Yes, I know, we will need to wait a little bit longer for that but dreaming is allowed, isn't it?


Since I am in the Spring-Summer mode I started working on some bags for that season, The Beach Bag Collection. Two of these bags are ready, some more are in the pipe.


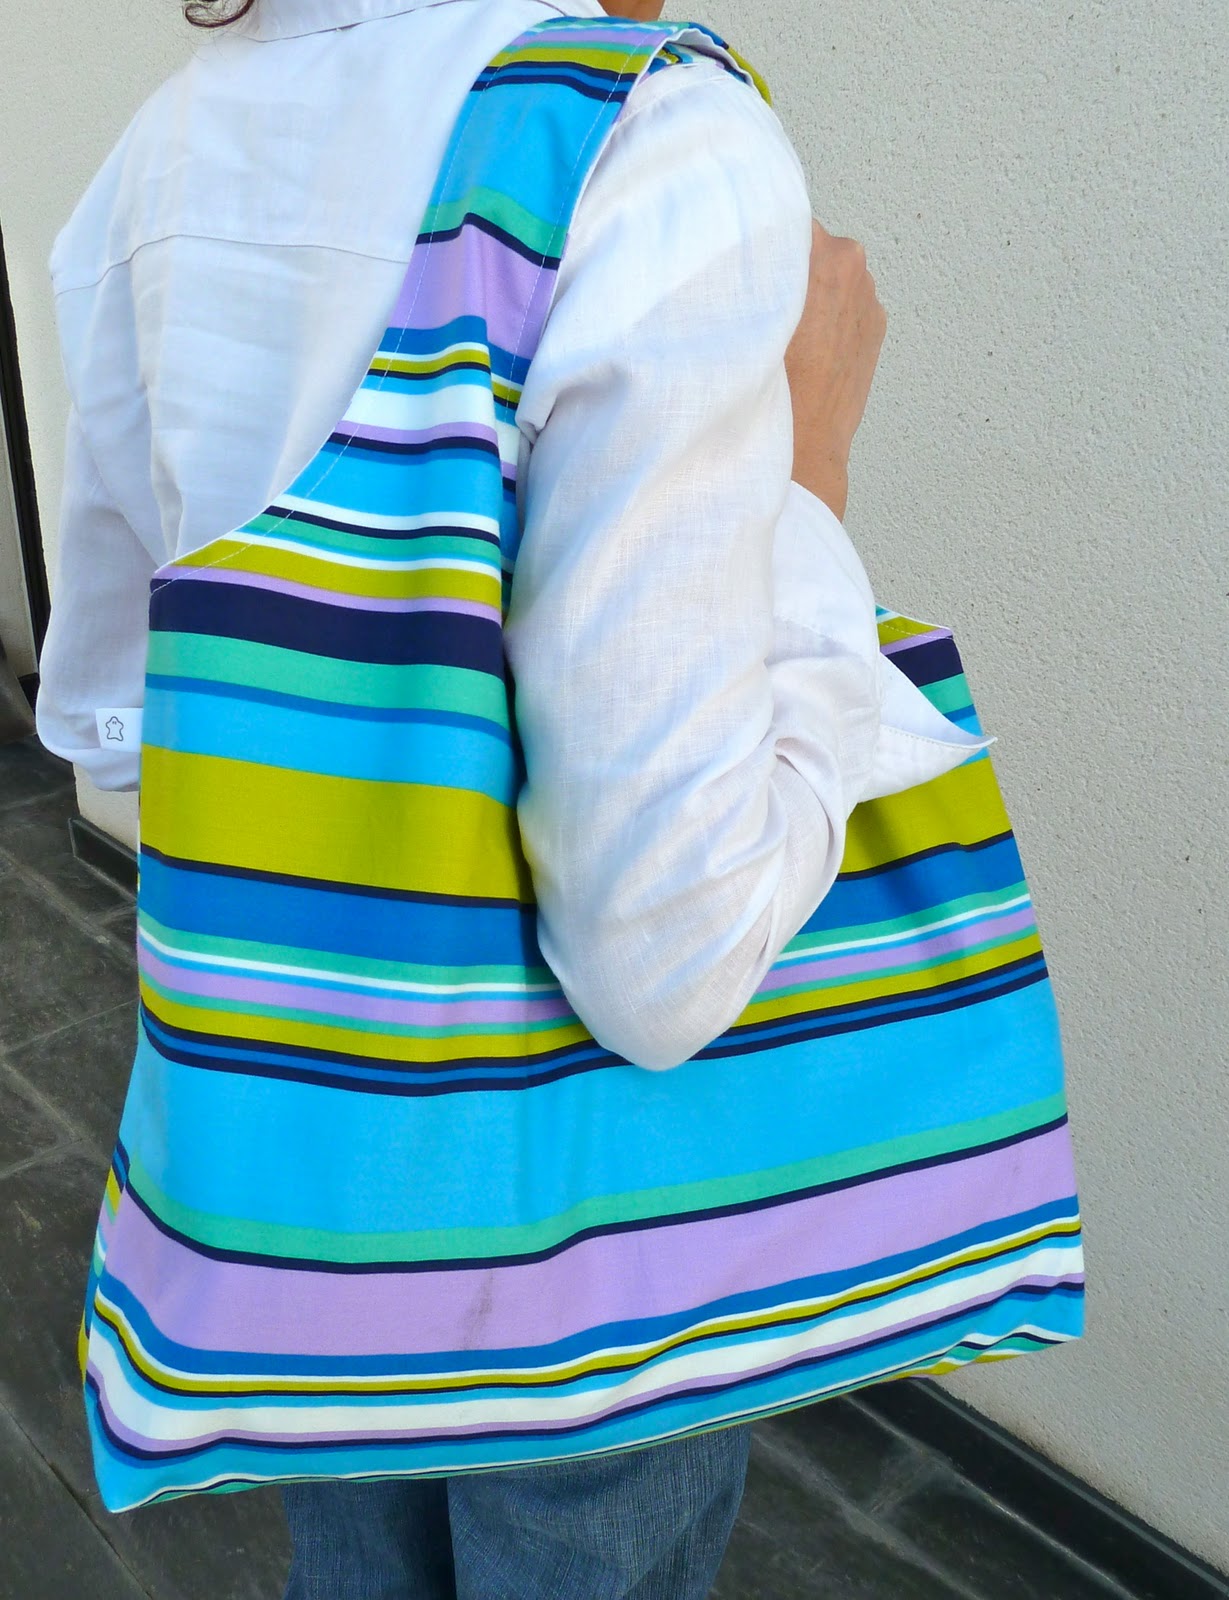
They are giant bags, where you can carry a big towel, a good book or magazine and everything you may need for a day at the beach, or go for a picnic, shopping or even traveling. I added two pockets, one of them with zipper to protect your most delicate stuff. There is also a swivel hook attached to the other pocket where you can hold your keys. I hate having to rummage inside the bag to find the keys, which always manage to disappear at the bottom of your bag.


These two bags are already available here and here.


Por aquí todavía estamos sufriendo los últimos coletazos del invierno. Incluso hemos tenido una nevada enorme el pasado fin de semana. En marzo!, verlo para creerlo. Tengo la sensación de que el invierno está durando una eternidad.

Menos mal que, tarde o temprano, llegará la primavera y, con ella, el buen tiempo. Así que ya estoy soñando con días soleados, temperaturas agradables, camisetas y pantalones cortos y, lo que es mejor, piscina, playa...
Sí, lo sé, para estas dos últimas cosas todavía tendremos que esperar un poquito más. Pero no está mal soñar de vez en cuando, verdad?

Dado que estoy en modo primavera-verano he empezado a trabajar en una colección de bolsos para esa temporada, The Beach Bag Collection. Dos de esos bolsos ya están listos, y otros más están en camino.


Son bolsos muy, muy grandes, pensados para poder llevar la toalla, un buen libro o revista y todo lo que te haga falta para pasar una día en la playa o piscina (esto último para los que no tenemos playa cerca... ).

Les he puesto dos bolsillos, uno de ellos con cremallera para proteger las cosas más delicadas. También tiene un mosquetón junto a uno de los bolsillos, donde se pueden colgar las llaves. Odio tener que estar revolviendo medio bolso para encontrar la llaves del coche o de casa, que siempre se las apañan para desaparecer en el fondo.

Los dos primeros bolsos de la colección ya están disponibles aquí y aquí.


11 March 2011

One more hairclip organizer

As I promised, here you have the photos of the second hairclip organizer that I made, which has just been handed over to her owner.
For this one I used a nice fabric with little fishes. Therefore, the stuffed figure had to be a fish, swimming in the opposite direction as its colleagues.


Como había prometido, hoy os traigo fotos del segundo organizador de horquillas y gomas de pelo que he hecho. Era un regalo para el segundo cumpleaños de la semana, que ya hemos entregado.
Para éste he escogido una tela muy chula, con pececitos en diferentes colores. Estaba claro que la figura para los pins tenía que ser un pez, que nada en dirección contraria a sus compañeros.


10 March 2011

Hairclip organizer

March seems to be the birthday's month, mine included :-). My daughter was invited to two more birthdays this week. That meant two more handmade presents. This time I designed a hairclip organizer and I decided to make two of them, one for each birthday. I have used different fabrics and colors so that they are not exactly the same.
They have a pocket for the hairbands and two ribbons for the hairclips. I also added a stuffed figure where you can pin your brooches, earrings, pins...
This is the first one. The pictures of the second one will come soon...


Parece que Marzo es el mes de los cumpleaños, incluído el mío :-). Mi hija ha recibido la invitación a dos cumpleaños esta semana, lo que significa otros dos regalos handmade más. Para esta vez he diseñado un organizador de horquillas y gomas para el pelo. Como los dos cumpleaños eran tan seguidos, he decidido hacer dos, uno para cada uno. Simplemente cambian las telas, para que no sean exactamente iguales.
Estos organizadores tienen un bolsillo para guardar las gomas del pelo y diademas, y un par de cintas donde sujetar las horquillas y que siempre estén ordenadas y a mano.
También le he puesto una figura rellena donde se pueden pinchar chapas, broches, etc... aparte de adornar un poco el conjunto.
Este es el primero de ellos. Las fotos del segundo llegarán muy pronto...


9 March 2011

A different version of classical music

If you have ten minutes I fully recommend you to watch this video, you will have fun with these musicians. They play classical music in a different way. It is worth taking a look.


Si tenéis diez minutos y queréis pasar un rato entretenido, os recomiendo este video, donde podréis ver y escuchar a unos músicos que tocan música clásica de una manera muy original. Merece la pena verlo.

8 March 2011

Au gratin

We love gratins, specially the kids, who go crazy with gratined cheese. Therefore, it is a recurrent dish at home. They are very easy to prepare and are always delicious.

This is my version of one that we tried, many years ago, in the restaurant "El Buey", in Madrid. I did not ask for the recipe, but knowing that the main ingredient is asparagus, I just added some other stuff and got this tasty starter.

Ingredients:
1 can of asparagus
200 ml cream
1 egg
grated cheese (to taste)
salt and pepper
nutmeg

Preparation:
Cut the asparagus in medium size pieces. Put them in a ovenproof dish. Beat the egg with the cream. Season with salt and pepper and a pinch of nutmeg. Cover the asparagus with this mix and distribute the grated cheese on top. Pre-heat the oven at 180 ºC and bake till golden. 
That's it!!

A todos en casa nos encantan los gratinados, sobre todo a los niños, que adoran el queso fundido. Así que es un plato que tomamos a menudo. Además de ser muy fáciles de preparar siempre están deliciosos.

Esta es mi versión de un gratinado que tomamos, hace ya muchos años, en el restaurante "El Buey", en Madrid. No pregunté por la receta, pero sabiendo que el ingrediente principal son los espárragos, simplemente le añadí unos cuantos ingredientes más para conseguir este entrante tan apetecible. 


Ingredientes:
1 lata de espárragos
200 ml de nata líquida
1 huevo
queso rallado (al gusto)
sal y pimienta
nuez moscada

Preparación:
Cortar los espárragos en trozos medianos y ponerlos en una fuente de horno. Batir el huevo con la nata, salpimentar y añadir una pizca de nuez moscada. Cubrir los espárragos con esta mezcla y distribuir el queso rallado por encima. Precalentar el horno a 180 ºC y gratinar.
Y ya está listo!


Pin It
Related Posts Plugin for WordPress, Blogger...